Deacon's Bench Reveal
- Jennifer Baker
- Jul 21, 2017
- 4 min read
The last time I mentioned my barn wood deacon's bench, it looked like a cow.

The bench part of this piece wasn't constructed of the same beautiful barn wood as the sides and back. It painted up quite differently and I was unhappy with the contrast. Luckily, I was given the inspiration to upholster it to hide the unsightly wood!
The upholstery process began by picking my fabric. I had some thick tan fabric with a grain sack stripe running down the middle that would compliment the rustic feel of the barn wood nicely.

I draped it across the bench to make sure it would be wide enough, which it was. When it came to deciding which way the stripes should run, I opted for vertically as opposed to horizontally. The back of the bench is rather tall, so I wanted to emphasize its height.
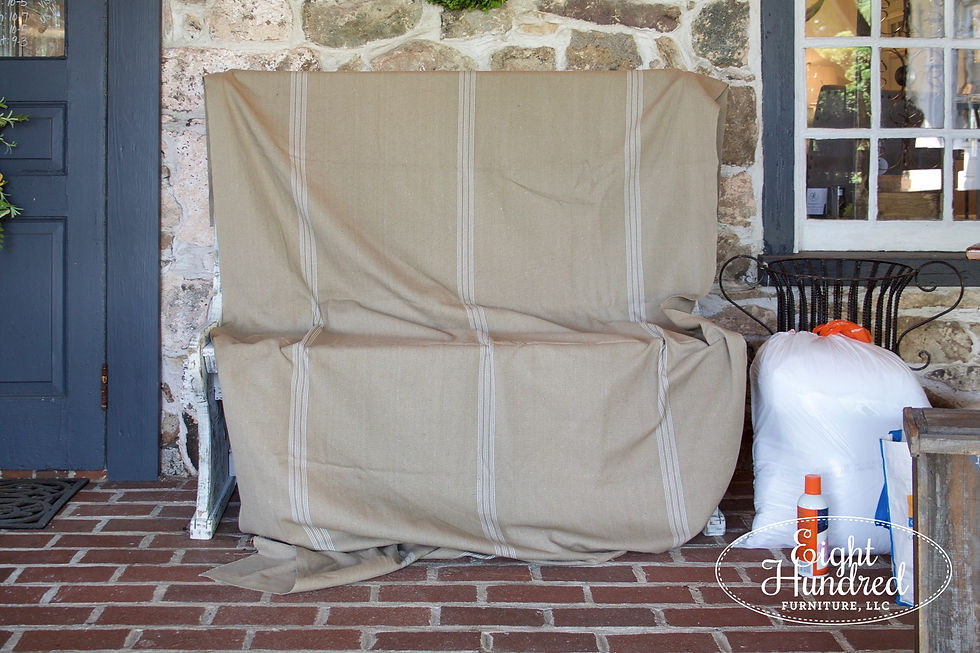
Next, I used a pair of sharp scissors to trim the fabric into 2 manageable pieces - one for the top and one for the bottom.

Once the fabric was cut, it was time to add the cushioning. Foam and batting can be very expensive, so I used what I already had - six square throw pillow forms! I sliced one open and began pulling the stuffing out.


As I placed the stuffing on the bench, I used some adhesive spray to hold it in place.
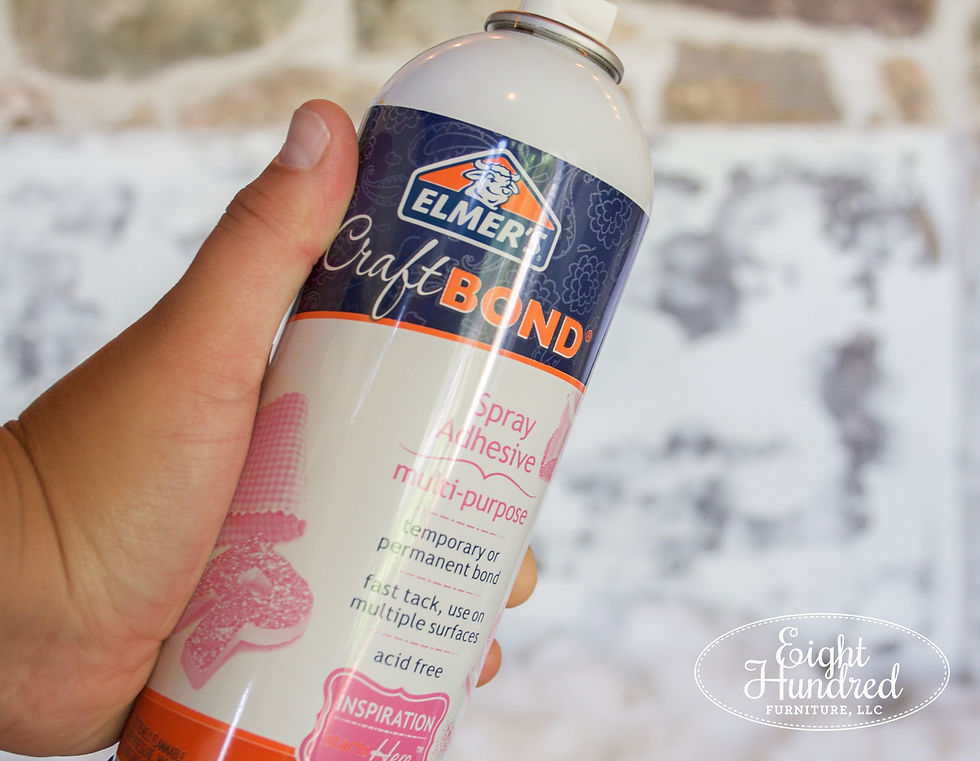

As I sprayed it down, I shaped it with my hands into a rough rectangular shape.

It felt like I was making a little lamb! I wound up using all of the stuffing from one pillow and a few handfuls from a second. Once all of the stuffing was in place, I draped my fabric and made sure the grain sack stripes were lined up properly.

Then, I set about stapling the fabric in place. In a perfect world, I would have used an upholstery stapler with an air compressor. It fits perfectly into tight spaces and works much faster than the hand-held stapler I used. With that said, I continued my trend of using what I had available.

I started in the middle of the bench and worked my way to the sides, making sure to keep the stripes straight as I went. Occasionally I would hammer some stubborn staples down and I had to pluck some out that just wouldn't take.

After I had stapled the entire perimeter of the bottom part of the bench, I went around with scissors and trimmed off the excess fabric.

As I stepped back, I giggled with excitement. It was actually starting to look pretty good! Now this process may be reading as if it went quickly, but to get to this point took me about 2 hours.

I repeated the process for the top/back of the bench. This part was a bit tricky because I had to make sure the stripes on the fabric lined up and met in the correct place along the back edge. (Know what I mean?) Once I got them loosely lined up, I tacked a few staples along the top to secure the fabric in place.
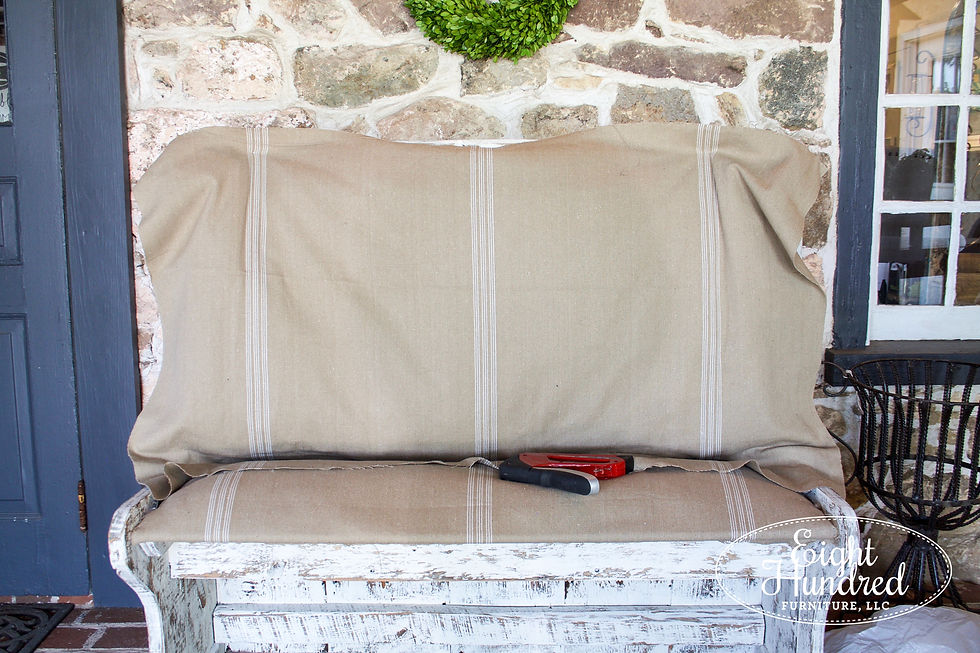
I worked my way from the middle to either edge, and along the sides with my stapler.
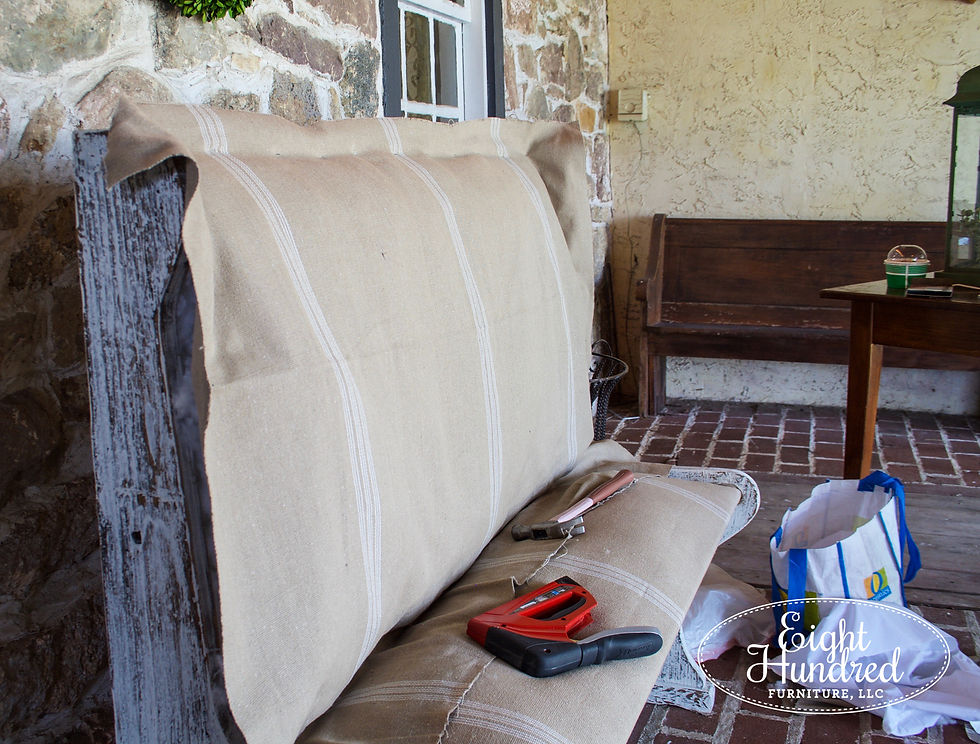
The hardest part to staple was where the back and the bottom meet. The space was really tight and I really had to man-handle the stapler. If you're going to try this at home, just be patient and don't rush the process. Take breaks and walk away when you get frustrated or tired. Pushing through leads to mistakes. I think I took at least 10 breaks when I upholstered this piece. Plus, it was about 90 degrees with a heat index of over 100. So...yeah...lots of breaks. At this point, I was 5 hours in.
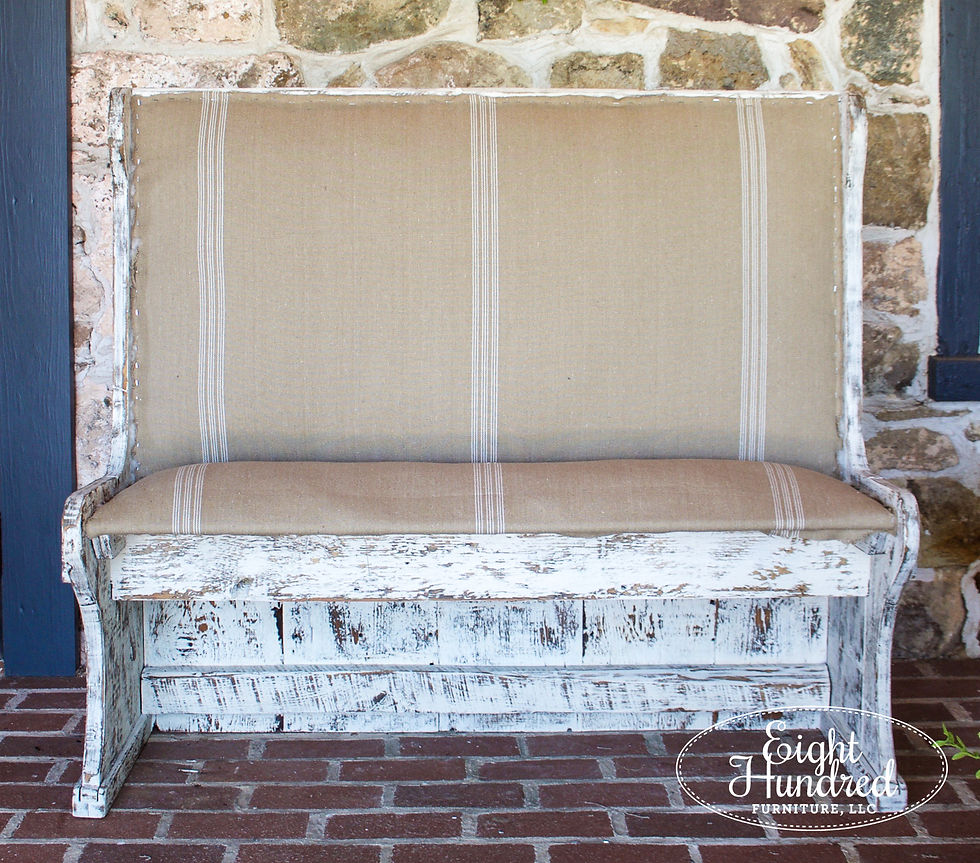
After some careful trimming, the fabric was in place and I was ready for the next step - trim.

Because my hand-held stapler couldn't get any closer to the edge of the bench, my staples stuck out further than I would have liked. I needed 3/4 inch wide trim, if not wider, to hide all of the staples and my fabric edges.
I didn't have any trim that came in that size, but what I did have was some jute rope.

I decided to use three rows of jute rope as a faux "triple welding" to trim out my fabric. Using a heat gun, I patiently glued row after row of jute rope down.

When I hit the edge, I simply snaked the rope back the way I came, creating another row - like a zig-zag. The effect looked like this:
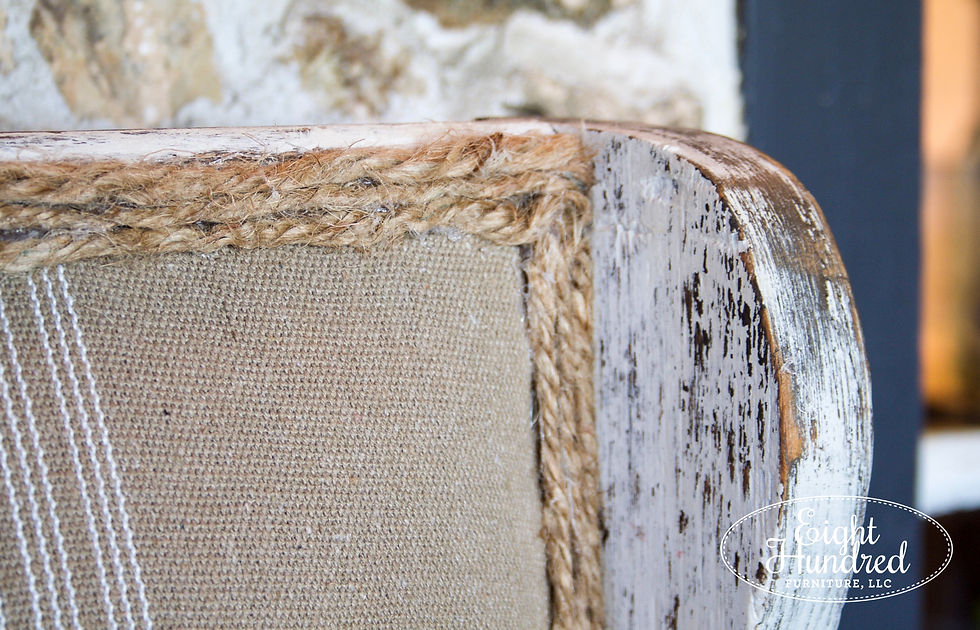
Three rows of jute roping did the trick! There were some staples that I had to remove and replace because they were too far down and the rope wouldn't cover them.

Once again, that part where the back and the bottom met was definitely the hardest part to glue. My fingers got a few burn marks from the cramped work space.

Folks, this bench was a LOT of work and it took a LOT of time to get it looking the way it does now. It's a million times better than before, but boy oh boy am I glad it's done!
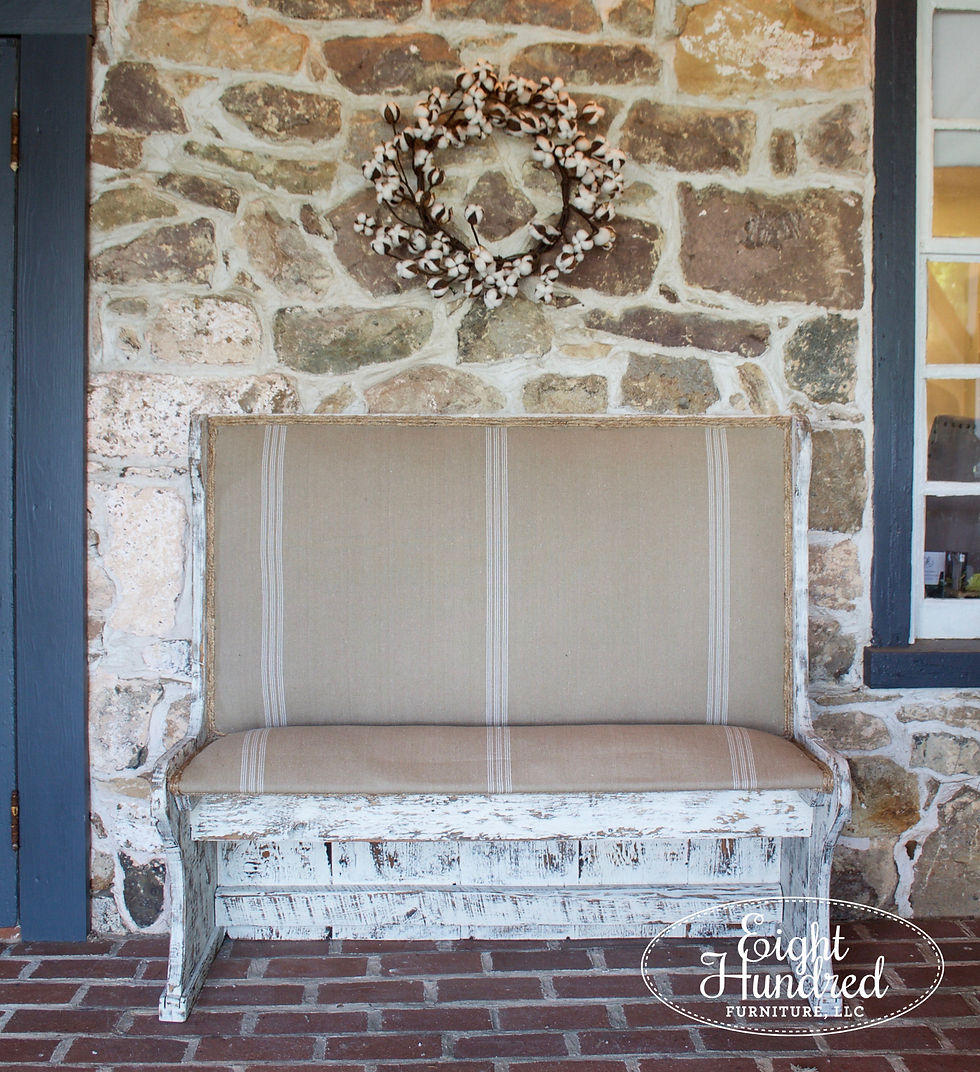
The Farmhouse White Milk Paint was sealed with Tough Coat for protection and durability. Milk Paint soaks into raw wood like a stain, so this paint isn't going anywhere!

This deacon's bench has come a long way. It has morphed slowly but surely into a truly beautiful piece.
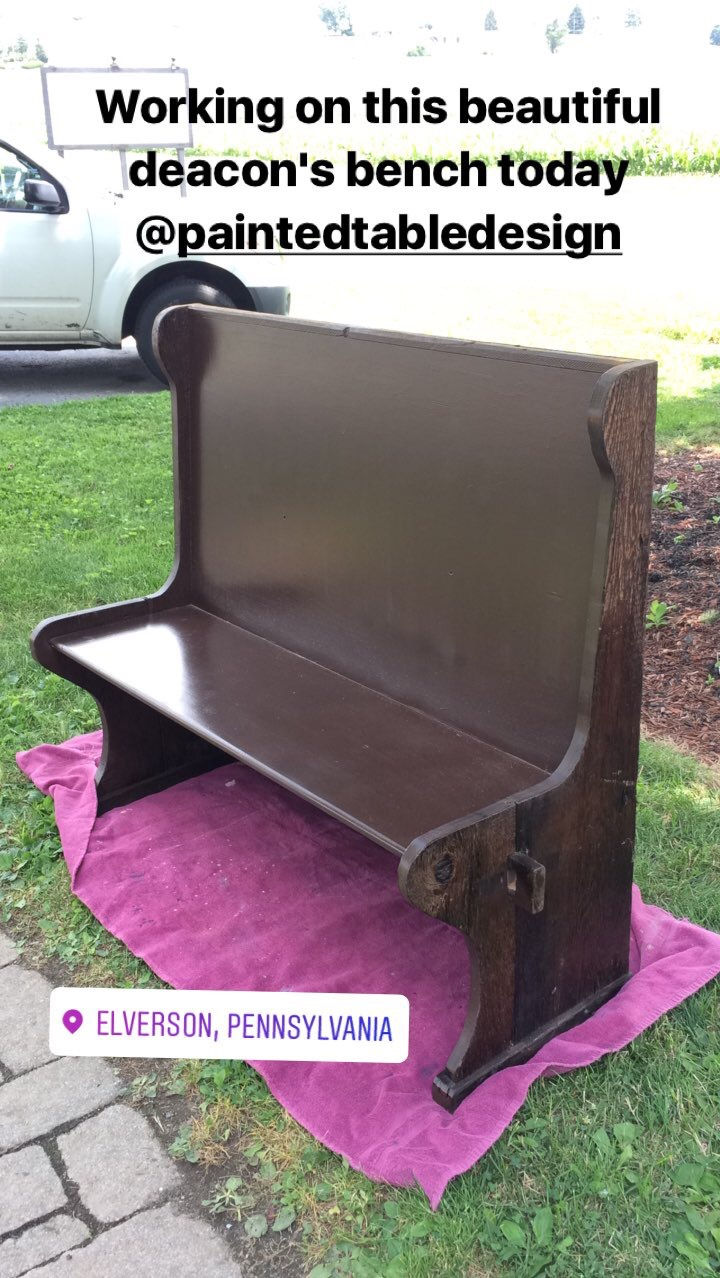
The early stage:

The second coat:

The cow stage:

The final stage:
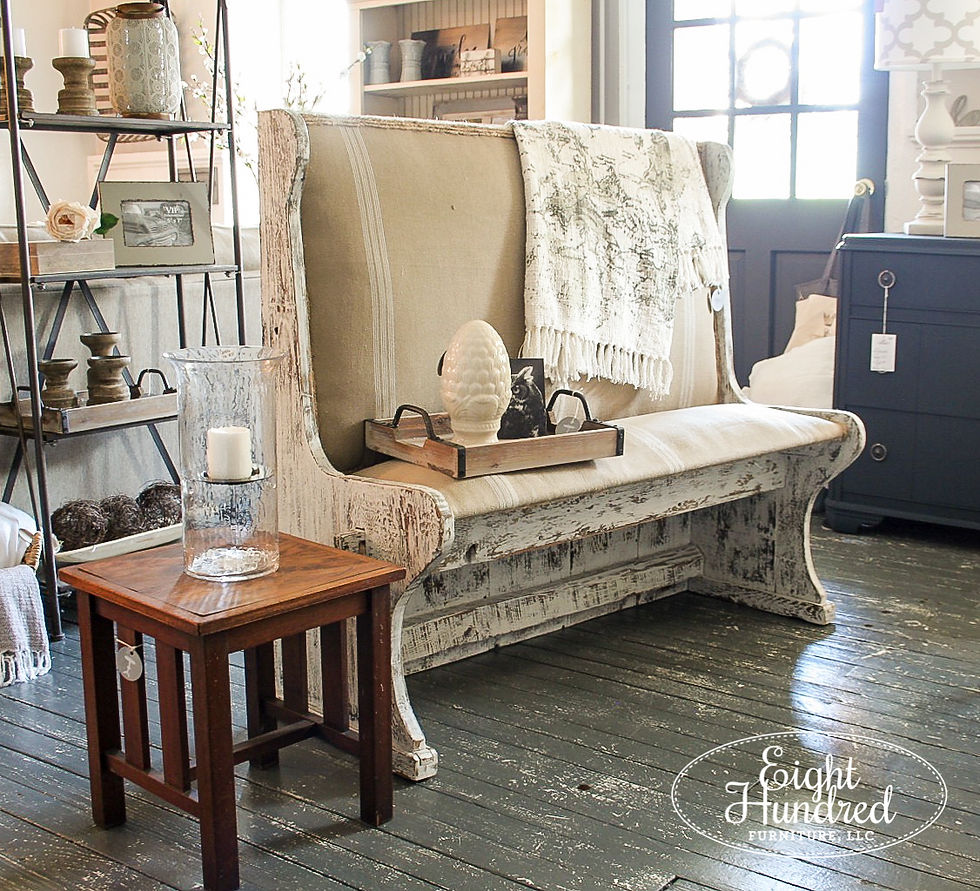
This bench is currently for sale at Painted Table Designs for $258. It can be used on a screened-in porch, in a hallway with baskets underneath or in your kitchen as banket seating. Whichever way you want to use it, it will add a level of farmhouse charm to your home that you won't find anywhere else!


Comments