A Retro Revival
- Jennifer Baker
- Jun 13, 2016
- 4 min read
Have you ever come across a deal that was so great you just couldn't pass it up? That $15 pair of shoes that are an exact match with your favorite top. Those earrings that you've had your eye on are suddenly marked down 50%. A groupon for puppy day care has finally surfaced allowing Fido to romp and play in the sun.
You get the idea.
My amazing deal came in the form of a cute white retro cabinet that needed a bit of a makeover. I saw it on a Facebook yard sale site for quite a good price. I met up with the owner and with the help of my Dad and husband, it was all mine! I got so excited about this one that I forgot to take a before photo. I just started diving in right away. The day happened to be complete gorgeous, so I couldn't pass up working outside.
As I assessed the damage, I saw that there were stains on it,

and a few layers of old paint,

and as per usual, lots of spider nests on the bottom from years of neglect.

It definitely needed some TLC to say the least.


The cabinet had a wooden frame with hardboard sides and shelves. It had original 50's style hardware and a plate on the door that read "Keystone Cabinet Co. Littlestown, PA". (I love it when pieces have history to them!)
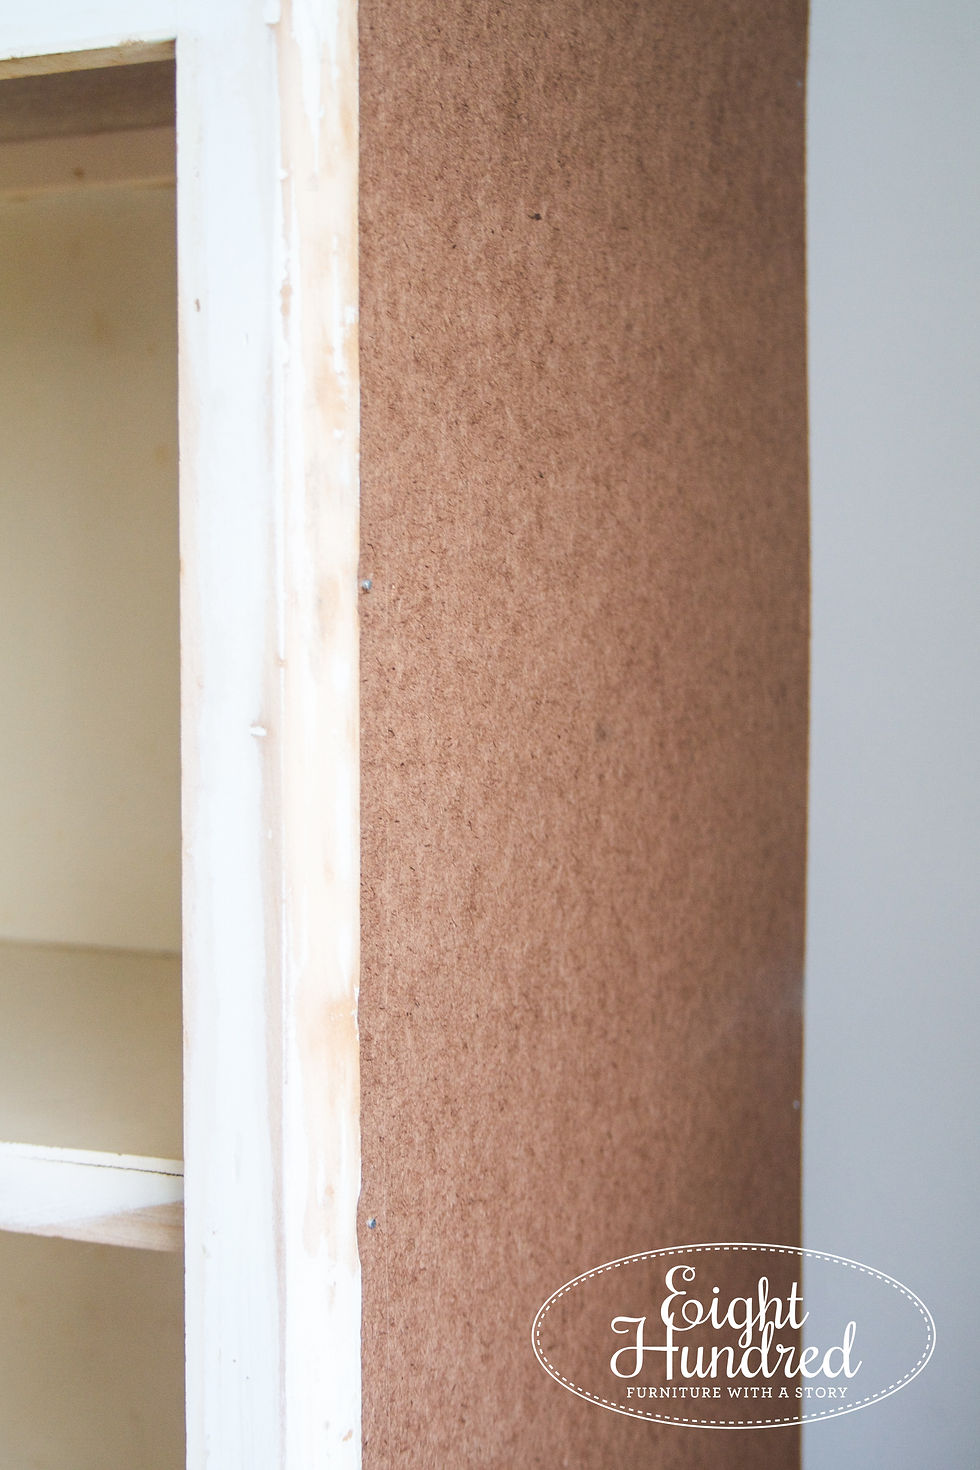
Unfortunately, one of the sides needed to be replaced because it was ripped at the bottom and it had some water damage. I took a trip to my local Home Depot and picked up a piece of hardboard. The sweet guys in the lumber section cut it to size. They picked me out from a mile away because let's face it...when you see a woman wandering the lumber aisles with a 7 foot piece of hardboard looking around, it's safe to assume she needs help.

After getting my piece home, I attached it to the side of the cabinet with finishing nails. It was a perfect fit!

Next, I started scrolling through Pinterest for the retro feel I wanted it to have. You can check out my Pinterest board here. I started falling in love with the aqua and cherry red combo, so I thought the cabinet would be a great opportunity to try Debi's DIY Paint. I have watched Debi for about 2 years now on You Tube and have followed her makeovers on her blog. She's got a great personality and her quirkiness won me over instantly. I chose Marquee and Old '57 for my dynamic duo. The paint took a bit to arrive because 'Old 57 was on backorder. Once it arrived, I set to work using it right away. DIY Paint is highly pigmented and it brushed on great.
(Note: I did not receive any compensation for this post.
These opinions are my own and I picked DIY Paint due to my own curiosity.)


There were a few negatives that I experienced with 'Old 57 in particular. I needed more than I thought (1.5 cans to cover the cabinet thoroughly) and Old '57 was on backorder both times I ordered, so that put me behind by about 2 weeks. I got bleed through with 'Old 57 as well, which led to needing more paint. When I went to put my topcoat on, my paintbrush actually started to take the paint off on the inside of the cabinet, which I wasn't too happy about. I wanted to go for full coverage and Old '57 was distressing even though I allowed it to dry completely with 2 coats. I made sure to put plenty of top coat on to ensure the paint won't chip off as people use the cabinet.
With all of that said, I still really like DIY Paint. It hardly has any odor at all and because it distresses easily, I think it would lend itself to layering and wet distressing very nicely. I also couldn't find colors quite like these two in the usual brands I use, so it's definitely going to be an option I consider for future projects. I think if I'm going for a clean, neat, full coverage look, I'll use a different type of paint in the future. Plus, it's made in America and I'm all about supporting American companies. Let's keep the jobs here.
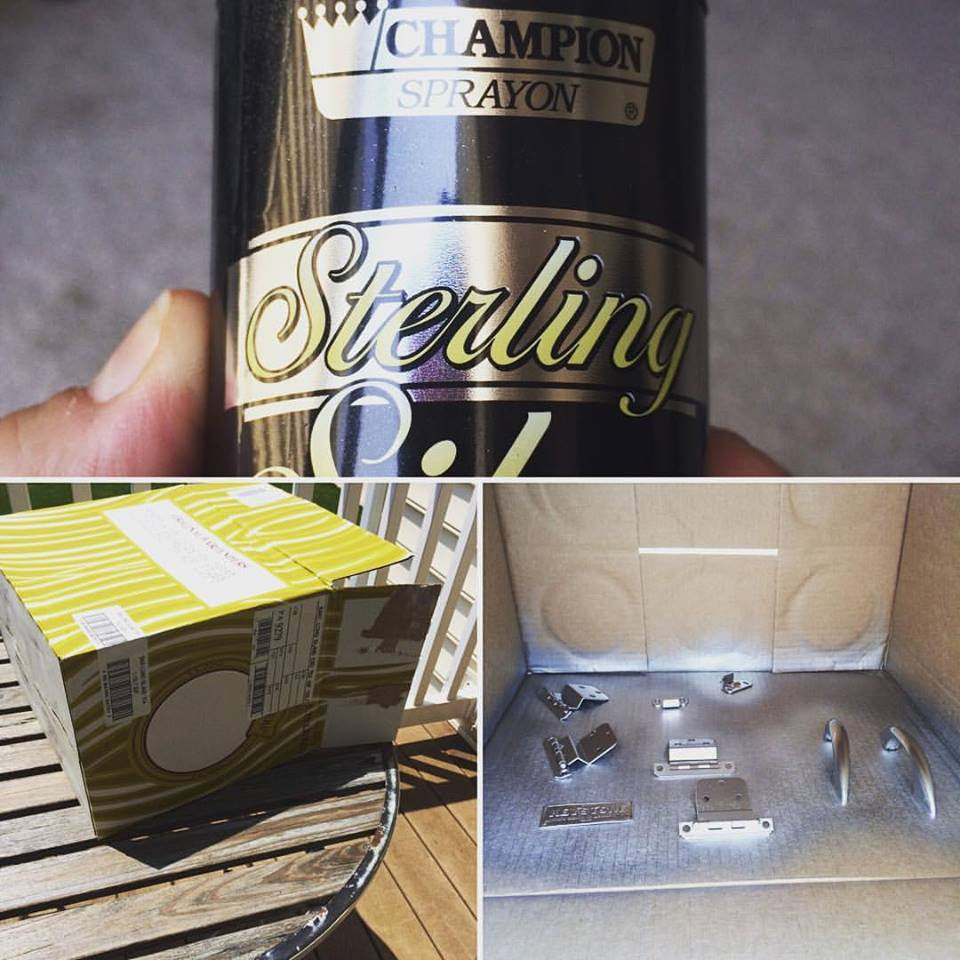
I spray painted the hardware in a fun silver chrome color and livened them up a bit. I used an old box to contain the mess and it worked out great!

Finally, I picked up some glazing points to keep the glass in place on the top door. Funny story - when I went into Home Depot to look for these, I wasn't sure what they were called. It was pretty comical trying to describe these to the bearded man in aisle 13. "Hi, I have a door with a glass pane and I need to anchor it in. I'm looking for these metal things with points on the end. Kind of like arrows. You push them into the wood frame and it keeps your glass in place. Do you know what I mean?"
Cricket. Cricket. Awkward stare.

So after some wandering around the window department, some bleed through and backorders, here the "retro-fied" finished look:


I staged it with our white dishes we got for our wedding. I absolutely love how they pop out against the aqua and red.


I'm so thrilled that all it had all of the original hardware, including the plate on the bottom door...

...and the fun art-deco hinges.

Even the roller ball lock made me happy!


Now it's time to play some Elvis on the jukebox, settle in with an egg creme from the soda fountain, and kick off your saddle shoes!


Comments