My First Dresser (Part 3)
- Jennifer Baker
- Jul 19, 2015
- 2 min read
So here is where we left the dresser. It was in the wood filler "zit" stage.

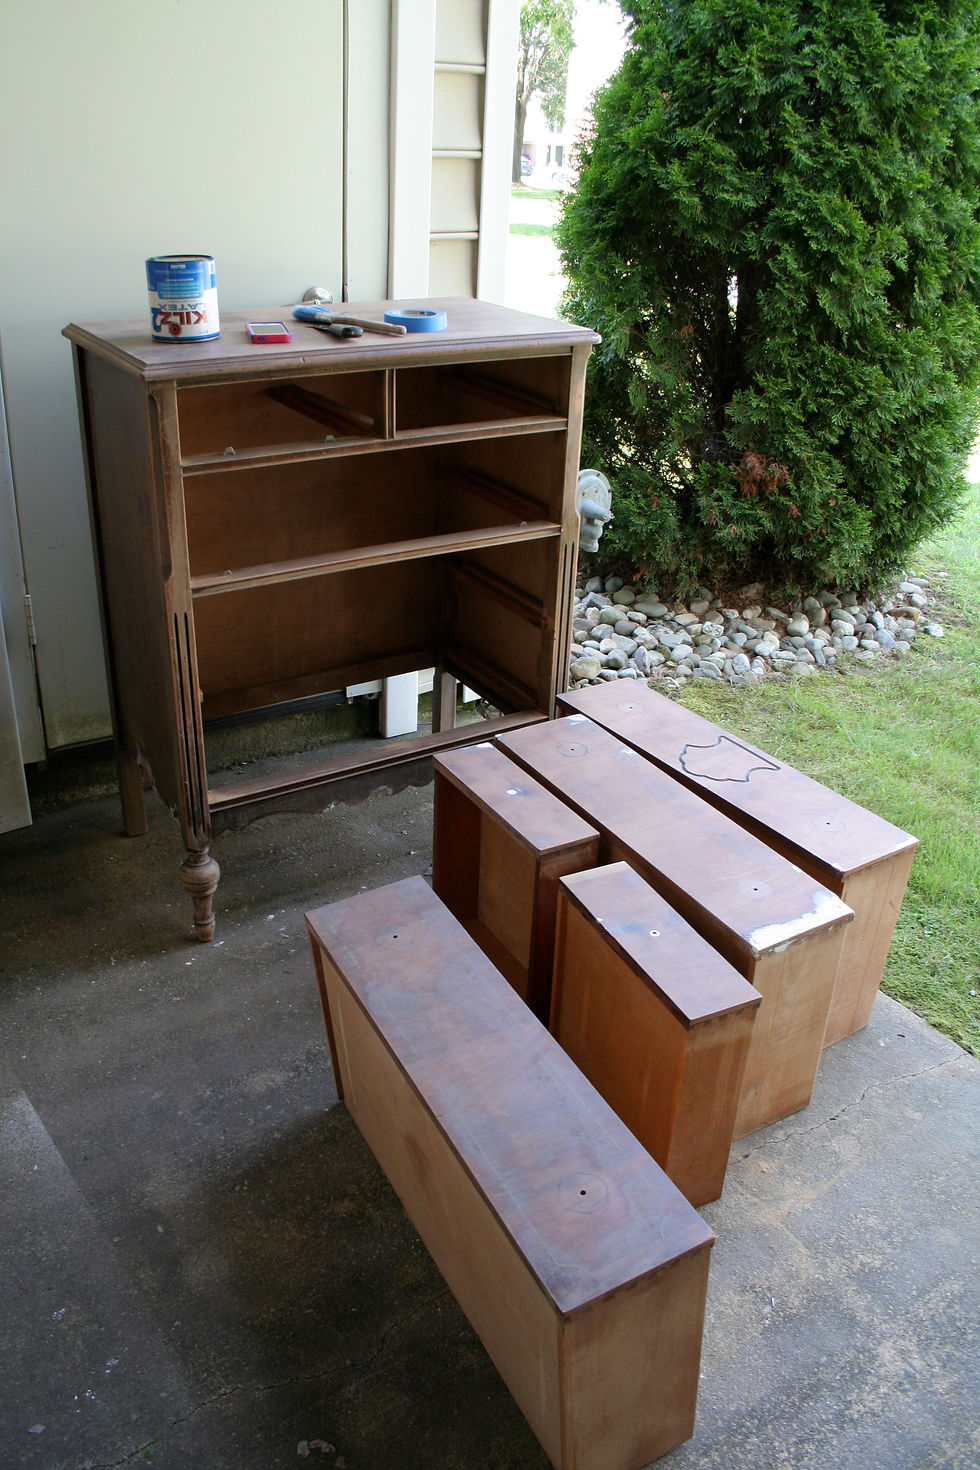
The structural issues had been fixed and the sanding was done. The next step was to start painting. In preparation, I taped around the drawers to get clean lines. (I always notice the quality of paint jobs on drawers. Some people paint down the side haphazardly, but I think it looks better if there are clean lines. It distinguishes your paint job from others and shows your buyers that you took the time to be neat.)


After taping, it was time to prime. Usually I don't prime my furniture, but the stain on this dresser was particularly strong. It even bled through the wood filler.

I wasn't about to risk bleed through, so I broke out my Kilz primer. It seals, stains, and prevents bleed through. It even eliminated the musty smell that was still lingering on the dresser. (If you notice, the can of primer was upside down for a reason. I learned a new trick not too long ago for mixing your paint. If you turn it upside down an hour before you need to use it, no stirring required! I don't do this all the time, but if I'm not quite ready to paint yet, I'll invert the can and let gravity do the mixing for me!)


It took 2 coats to get the coverage I was looking for.
After the primer had dried, I started applying my color of choice - General Finishes "Persian Blue". It's a pretty robin's egg blue that gave the dresser a whole new look.


I'm thinking about using white ceramic or porcelain knobs on the drawers to round out the look. Maybe something along the lines of these from Hobby Lobby:

Or these from Etsy:

More to come!


Comments